


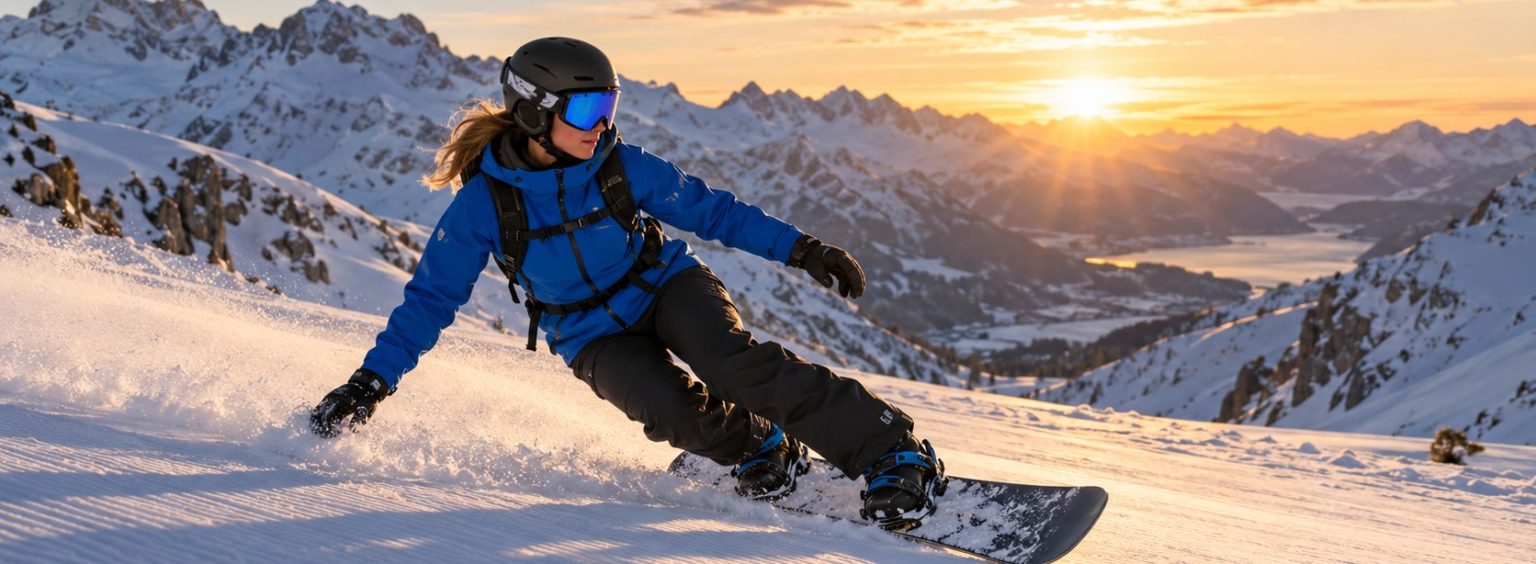
Snowboard binding setup comes down to four steps: a stance width close to your shoulder width, starting angles of +15° on the front foot and 0° to -6° on the back foot, boots centred between the two edges, and screws tightened by hand. You then fine-tune to suit how you ride.
Why a women’s take? Because most shop reference points are designed for an average build. The reference stance marked on the board, for example, depends on the board’s length, not your height: if you are petite, or chose a slightly long board, it may be too wide for you. Your boots are often smaller too, which changes the centering. And a badly set stance is quickly paid for in the knees and thighs. The good news: with a screwdriver and ten minutes you can set up your own bindings, whether you bought or rented them. New to the sport? Start with our complete guide to snowboarding for beginners.
Regular or goofy: which foot goes forward?
Before touching a screw, work out your front foot. In a regular stance the left foot leads; in goofy, the right. There is no “correct” one: it is a natural preference, like being right- or left-handed. A few simple tests, suggested among others by the DC Shoes mounting guide (in French):
- The push test: ask someone to give you a gentle, unannounced push in the back. The foot you step forward with to catch yourself is your front foot.
- The ball test: the foot you instinctively kick a ball with is often your back foot.
- The slide test: take a short run-up in socks on a smooth floor. The foot that leads the slide is usually your front foot.
If in doubt, start regular. If after half a day you constantly feel like riding the other way, simply swap the bindings round.
What stance width should a woman choose?
Stance width is the distance between the centres of the two bindings. Most boards have inserts marked “reference stance”: a good starting point, provided you check it fits your build. Three practical checks:
- Shoulder width: standing with your feet shoulder-width apart, you should be able to bend your knees comfortably.
- The forearm rule: the distance from your elbow to your knuckles, fist closed, gives a rough idea of the width to aim for.
- The squat test: strapped in on the living-room floor, do a few squats. If your knees collapse inwards or you struggle to get low, the stance is probably too wide.
A stance that is too wide is a common mistake among shorter women riders: it locks the hips and makes turning more tiring. Too narrow, and you lose stability. To adjust, move both bindings by the same number of holes (inserts are spaced 2 cm or 4 cm apart, roughly ¾ in or 1½ in, depending on the system) so you stay centred. Board length plays a part too: go back to our women’s snowboard size chart if you are still unsure.
Which angles for your snowboard binding setup?
Angles are read on the mounting disc: 0° means the foot is perpendicular to the board, a positive angle points the foot towards the nose, a negative angle towards the tail. Discs are marked in 3° steps. As the French site Glisse Alpine (in French) points out, the total spread between front and back angles should stay between 15° and 30°.
| How you ride | Front angle | Back angle | What you gain |
|---|---|---|---|
| First season | +15° | 0° | Natural position, turns easy to initiate |
| All-mountain (groomers, a bit of everything) | +15° to +18° | -6° to -9° | Good compromise, less strain on the knees |
| Freestyle, park, switch | +12° to +15° | -12° to -15° (duck) | Equally comfortable in both directions |
| Freeride, powder | +15° to +21° | 0° to +6° | More forward-facing position, bindings set back |
These values are reference points drawn from retailer guides such as Ekosport (in French) and Decathlon, not rules. A duck stance (negative back angle) is often kinder to the knees once you start riding switch. If joint discomfort persists, reduce the spread between the two angles and talk to a doctor or physiotherapist.
How do you centre your bindings to avoid toe and heel drag?
Once the angle is chosen, slide the binding on its disc so the boot overhangs by the same amount at the toe and the heel, or not at all. Too much overhang on one side causes toe drag or heel drag: the toe or heel catches the snow in hard turns and puts you on the ground. It is rarely an issue with small boot sizes, but poor centering can also cost you response on the opposite edge.
To check, put your boots in the bindings, flip the board over and look at both edges. On freeride boards you can also move both bindings back by one set of holes (setback) to help the nose float in powder; never move the front binding forward.
Highback, straps and screws: finishing the setup
The highback
The highback is the vertical plate behind your calf. Tilting it forward (forward lean) makes heel-side turns more responsive: useful for carving and freeride. For learning or for the park, keep it neutral or at the factory setting. Rotate it too, so it stays parallel to the heel edge.
The straps
Once tightened, the straps should sit centred over your instep and the toe of the boot, with 3 or 4 clicks still spare on the ratchet. If you are maxing them out, shorten them. They should hold the foot without cutting off circulation: numb toes are a signal to take seriously.
Tightening, step by step
- Fit all four screws loosely, starting with the slotted holes.
- Check the angle on the disc and the centering of the boot.
- Tighten in a cross pattern, by hand, with a Phillips screwdriver (a #3 fits most binding screws): never with a power drill.
- Take one run, then retighten.
- Check them regularly through the season; many resorts keep a tool bench at the base or top of the lifts.
The Xtremself tip: write your settings down (angles, insert holes, strap positions) on a strip of tape stuck under the board or in your phone. Renting or owning, you will get back to a position that suits you in two minutes, and you can test one change at a time.
How do you know your snowboard binding setup is right?
A good setup is not something you see: you feel it. After a run or two, ask yourself:
- Are your knees pain-free at the end of the day?
- Do you start toe-side and heel-side turns with the same ease?
- Are your feet neither numb nor loose in the bindings?
- Does no part of the boot touch the snow in hard turns?
If any answer is no, change one setting at a time. And if you are dressing for the mountain from scratch, our guide to the women’s snowboard outfit covers the clothing side. Find all our articles in the snowboarding section.
Read next in our snowboard gear series:
- Snowboarding for beginners: the complete guide
- Women’s snowboard size chart
- Women’s snowboard outfit: the 3 layers
- Learning to snowboard as an adult
Frequently asked questions
A common starting setup is +15° on the front foot and 0° on the back. It gives a natural position and makes first turns easier. When you start riding switch, gradually move the back angle to -6° or -9°.
Ask someone to push you gently in the back: the foot you step forward with to catch yourself is usually your front foot. Left foot forward is regular; right foot forward is goofy.
Start from the reference stance marked on the board, then check that it roughly matches your shoulder width. If you are petite and your knees collapse inwards when you squat, narrow the stance by one set of holes.
Not necessarily. Women’s models mainly come in sizes suited to smaller boots, often with a softer flex. What matters is that the binding matches your boot size and the board’s insert system.
After the first run following any adjustment, then regularly through the season. Tighten by hand with a Phillips screwdriver, in a cross pattern, without a power drill so you do not damage the inserts.
