


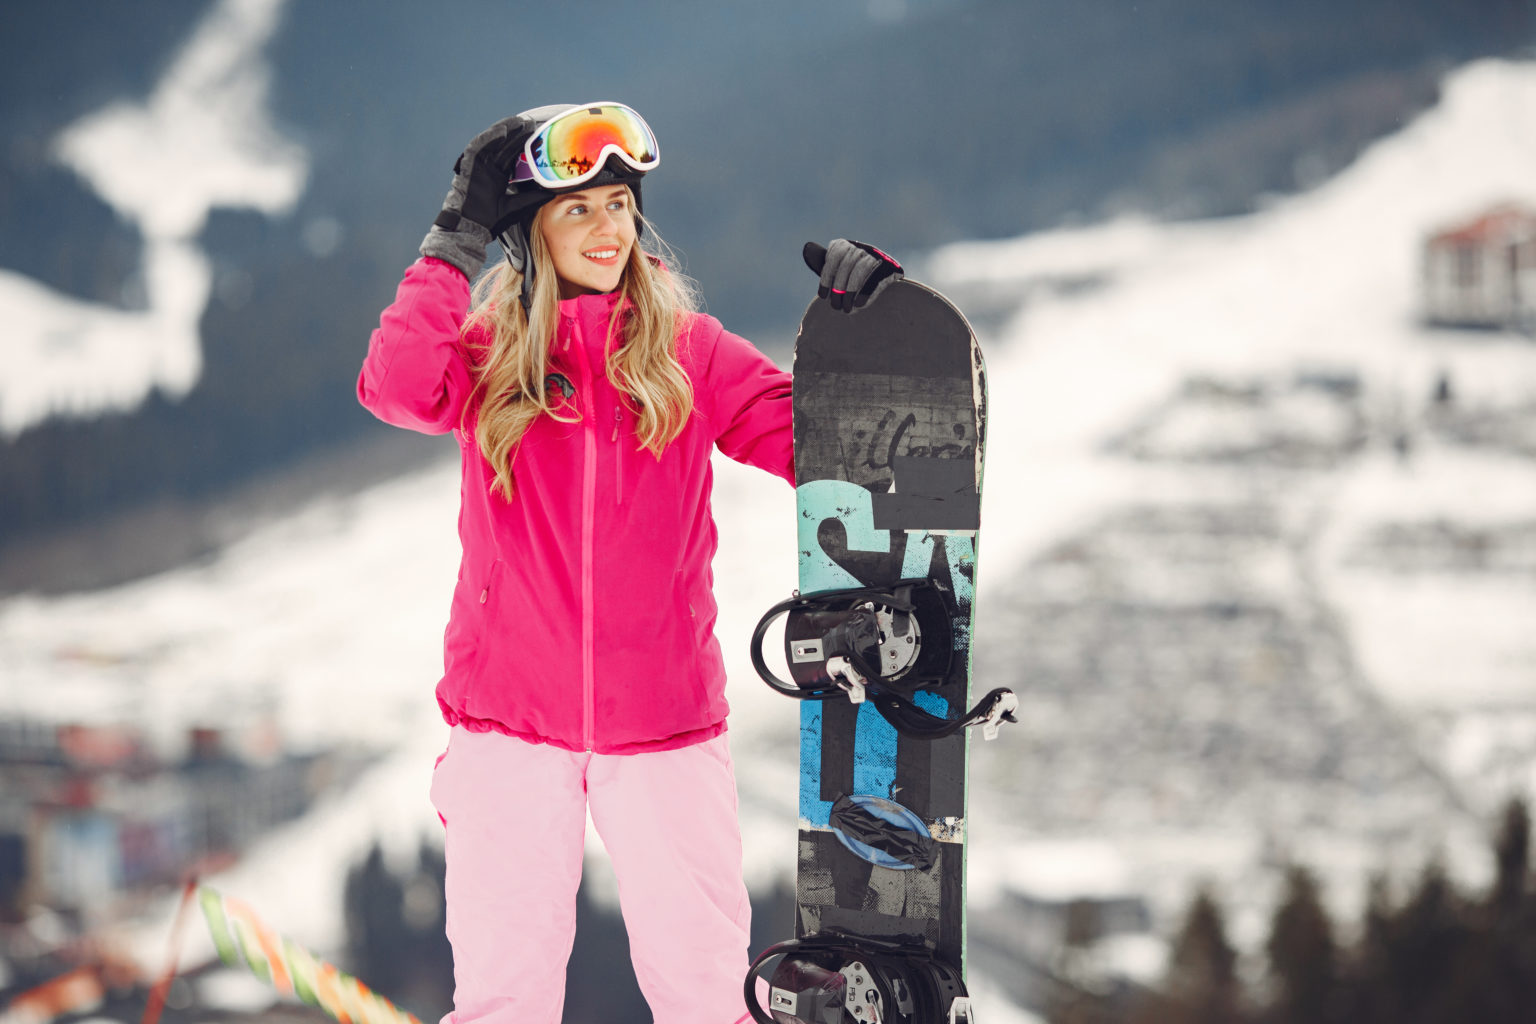
Basic snowboarding techniques come down to five steps: find your front foot (regular or goofy), settle into a flexed basic stance, glide straight on a very gentle slope, master the side slip and the falling leaf on each edge, then link your first turns by shifting your weight and steering with your eyes.
This article focuses on the technical moves of your first days on a board, in the order instructors usually teach them. For the bigger picture (choosing a resort, booking lessons, budget), start with our complete snowboarding guide for beginners. Here we talk stance, edges, side slipping and turns, with pointers written for women who are just starting out and want to progress with confidence. The vocabulary changes a little from one side of the Atlantic to the other, so we give the common English terms along the way: you will hear them in a lesson whether you learn in the Alps, the Rockies or on an indoor slope.
Basic snowboarding techniques: what stance should you adopt on the board?
Regular or goofy: finding your front foot
First question to settle: which foot goes in front? If your left foot leads, you ride “regular”; if it is your right foot, you ride “goofy”. Neither is better than the other, it is simply a matter of which feels natural. The simplest test, described in Glisshop’s beginner advice (in French), is to stand with your feet together and have someone give you a gentle push in the back: the foot that steps forward to catch you is often your front foot. Do the test two or three times and, if you are still unsure, ask the rental shop to set symmetrical binding angles so you can switch easily. Our guide to snowboard binding setup for women explains those angles in detail.
The basic stance: flexed, centred, eyes up
All basic snowboarding techniques rest on a stable posture. The Swiss Federal Office of Sport (OFSPO) manual, published on mobilesport.ch (PDF, in French), describes it this way: knees flexed toward the toes, centre of gravity over the middle of the board, upper body upright. What to remember:
- Knees and ankles flexed: they are your shock absorbers. Straight legs mean a guaranteed fall at the first bump.
- Shoulders parallel to the board to begin with, arms relaxed at your sides.
- Weight slightly on your front foot: it is the one that steers. Leaning back because the speed scares you makes the board uncontrollable.
- Eyes far ahead, in the direction you want to go, never down at your feet.
In terms of body shape, many women have a lower centre of gravity and smaller boots: a board that is too long or too stiff makes all of these moves harder. If you are renting, ask for a soft model in the right length (see our article on snowboard gear for beginners and our women’s snowboard size chart).
Basic snowboarding techniques: where do you start on flat ground?
Before heading downhill, instructors have you work on a few exercises on flat or almost flat terrain, with only your front foot strapped in (often called “one-foot” drills):
- Walking and skating: front foot strapped in, back foot free, push yourself along as you would on a scooter to get a feel for the board.
- The straight glide: on a very gentle slope that flattens out at the bottom, rest your back foot on the board between the bindings and let it run flat, weight on your front leg, until you come to a natural stop.
- Falling and getting up: learn to fall “small”, rolling onto your back (when you fall backward) or landing on your forearms (when you fall forward), rather than reaching out with straight wrists. Practise it at a standstill first, so the reflex is there when you need it.
- Strapping in the back foot: sit in the snow facing downhill, with the board below you and across the slope, then fasten the back binding.
How do you side slip and do the falling leaf on a snowboard?
The side slip is the number one safety move in basic snowboarding techniques: it is what lets you brake and stop anywhere on the hill. You learn it first on the heel edge (facing down the valley), which is more reassuring, then on the toe edge (facing the slope).
Side slipping on the heel edge (backside)
Standing up facing the valley, with the board across the slope, lift your toes slightly: the heel edge bites into the snow and holds you. Ease off the pressure a little and the board slides downhill; lift your toes again to brake. Keep your hips stacked over your heels, not hanging out behind you, as if you were about to sit on a high stool rather than a low chair.
Side slipping on the toe edge (frontside)
Facing the slope, press down on your toes and push your knees forward. It often feels more intimidating because you cannot see the run behind you: turn your head to look downhill and work your way down in short slides. Small, repeated slides build the feeling far better than one long nervous one.
The falling leaf: zigzagging down without turning
Once the side slip is under control, the falling leaf means sliding diagonally one way and then the other while staying on the same edge, by shifting your weight from one foot to the other. The board drifts across the slope like a leaf falling from a tree, hence the name. Instructor Antoine Bouvier, on Decathlon Conseil Sport (in French), presents it as the technique that lets you get down a slope safely in a side slip. Practise it on both edges: it is your “plan B” on any run that intimidates you.
The Xtremself tip: practise the falling leaf on your toe edge as much as on your heel edge. Most beginners avoid the toe edge because it is scary, then get stuck when it is time to turn. Ten extra minutes on that edge often saves you half a day.
How do you link your first turns on a snowboard?
Your first turn means moving from one edge to the other while briefly crossing the fall line (board flat, nose pointing downhill). It is the key stage of basic snowboarding techniques, and the scary moment, because your speed picks up for an instant. Here is the most common progression:
| Step | Key move | Common mistake |
|---|---|---|
| 1. Heel-edge falling leaf | Slide diagonally, weight on your front foot | Leaning back |
| 2. Half turn into the fall line | Look downhill, weight on your front leg, the board points itself down the slope | Looking at your feet |
| 3. Heel-to-toe turn | Once in the fall line, roll gently onto your toes, knees forward | Turning only your shoulders |
| 4. Toe-to-heel turn | Lift your toes, flex and bring your hips closer to the snow | Standing up with straight legs |
| 5. Linked turns | Steady rhythm, eyes on the next turn | Staying in the fall line too long |
Three keys make the difference. Your eyes: the board follows where you look, so look at the exit of the turn. Weight forward: the OFSPO manual points out that putting more weight on your front foot helps you avoid catching an edge. Flexing: bend to engage the edge, rise slightly to release it, then bend again. Turns are initiated with your feet and knees, not with your arms.
Which beginner snowboarding technique mistakes should you avoid?
- Catching an edge: the downhill edge digs into the snow and throws you forward or backward. The usual cause is a board left flat for too long while it is across the slope. Always keep the downhill edge slightly lifted.
- Counter-rotating your shoulders: twisting your upper body one way and your legs the other. Keep your shoulders and hips lined up with the board.
- Fear of the slope: hanging back on your rear foot for too long. Paradoxically, committing to your front foot makes the board easier to control.
- A run that is too steep too soon: stay on a green run or in a beginner area until your turns are consistent.
How do you progress with confidence as a woman learning to snowboard?
Many women say what they lack is not ability but confidence. A few pointers to help you move forward calmly:
- Take lessons, ideally in a small group or one-to-one, with a qualified instructor. Solid basics learned early save you from bad habits later. If you are starting later in life, read learning to snowboard as an adult.
- Protect yourself: a helmet, and possibly wrist guards and impact shorts. They limit the bumps and bruises and reassure you, so you dare to try more.
- Take breaks: your thighs burn quickly when you side slip. End-of-day fatigue is when falls are most likely.
- Compare yourself with yourself: every rider progresses at her own pace, and first turns come after a few days on snow, sooner or later depending on the snow, your fatigue and the coaching you get.
Once you can link your turns, your basic snowboarding techniques are in place: the natural next step is to widen your playground, one slightly longer run at a time. Find all our features in the Snowboarding section.
Read next in our “Getting started in snowboarding” series:
- The complete snowboarding guide for beginners
- Learning to snowboard as an adult
- Ski or snowboard: which to choose as a beginner
- Snowboard gear for beginners
- Snowboard binding setup for women
- The women’s snowboard size chart
Frequently asked questions
It varies with the person, the snow quality and the coaching. With lessons, many beginners link their first turns after a few days on snow. The side slip and the falling leaf are generally learned on day one.
You usually start on the heel edge, facing down the valley, because you can see the slope and stopping feels more reassuring. Then work on the toe edge as much as the heel edge, otherwise turns will stay difficult.
It is often a caught edge: the downhill edge digs into the snow because the board is too flat while it is across the slope. Keep pressure on the uphill edge and your weight on your front foot.
Stand with your feet together and have someone push you gently in the back: the foot that steps forward to catch you is often your front foot. Left foot forward, you are regular; right foot forward, you are goofy.
It is possible, but a lesson with a qualified instructor saves a lot of time and limits the falls. If you learn alone, stay on green runs, wear a helmet and work on the side slip before you try turns.
